
 October 24, 2025
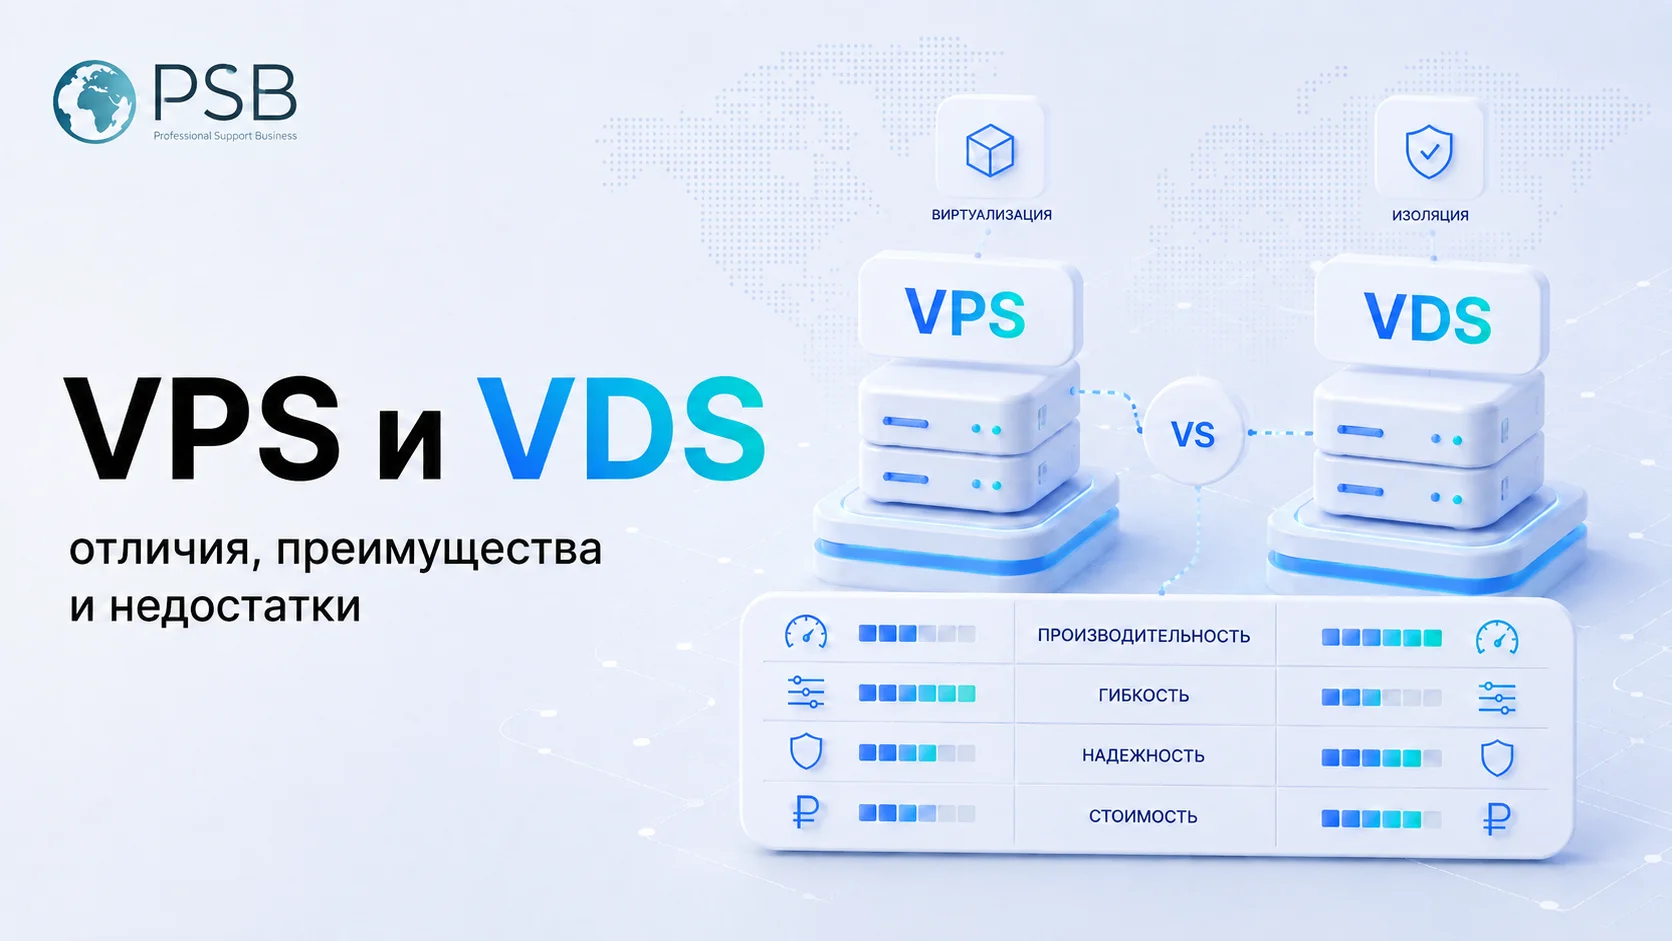
VPS (Virtual Private Server) is an opportunity to create your own game server for playing together in Minecraft, CS:GO, or Rust with stable access for all players and high performance. This solution is cheaper than purchasing a dedicated physical server, and it can also be configured according to the individual requirements of the players. It will operate 24/7 for all participants and will not be tied to a home computer. All this makes VPS servers for gaming as convenient and easy to use as possible.

PSB Hosting offers the option to rent a virtual server for installing any games with high connection speed and fast, lag-free gameplay. We provide affordable rates for access to servers with high-performance processors and a large amount of RAM.
Why a Home PC Is Not the Best Choice for a Game Server
A home personal computer is far from the best solution for hosting a game server. It is not originally designed for round-the-clock operation under heavy load — prolonged use leads to overheating, sudden shutdowns, and accelerated hardware wear. There are several reasons why using a home PC to create a game server is inconvenient:
- Lack of performance. For the game to run smoothly and quickly, the computer must have a powerful processor, a large amount of RAM with ECC error correction, and fast storage (SSD). Not every home computer can boast such specifications.
- High power consumption. A server requires a large amount of electricity, which results in huge energy bills.
- Noise and heat generation. It’s difficult to organize a proper server environment with professional cooling at home. CPU overheating can quickly damage the equipment.
- Insufficient reliability. Real servers provide data redundancy and multiple layers of protection against sudden failures and power outages. A home computer lacks these safeguards, leading to frequent interruptions.
Hosting a server on one of the players’ home machines also has other drawbacks. Participants may experience ping issues — the game will lag and freeze. Moreover, as soon as the host exits the game or turns off the computer, the server immediately becomes unavailable to everyone else.
All this creates numerous inconveniences and forces players to look for alternative solutions. One of the best options is using a VPS for gaming — it ensures continuous access for all players while eliminating technical problems during gameplay.
What Is a VPS and Why Is It Ideal for Gaming? Advantages for Gamers
A VPS (Virtual Private Server) is a virtual server that can be used to install any software and provide shared access to it. Essentially, it is a physical server divided into several independent virtual machines that operate separately from each other. Each of these virtual machines has its own operating system, powerful processor, memory, and dedicated disk space where games can be installed.
For a gamer, this means the ability to launch their own private game server and ensure its stable performance for all participants. The server can be customized according to personal preferences — you can install any mods, plugins, and updates to play exactly the way you and your friends want. There’s no need to argue with an administrator or depend on someone else’s settings.
Renting your own game server on a VPS is beneficial for several reasons:
- Stable 24/7 operation. The server is always available to all players since it’s not tied to any specific computer. Its remote location ensures equal access for everyone.
- Consistently high connection speed. The server is hosted in a professional data center equipped with cooling systems and safeguards against failures. This ensures smooth gameplay with no lags or delays.
- Independent control. A personal game server is free from the restrictions of official servers — the owner fully controls and configures it as they wish.
- Scalability. If the number of players increases, you can easily expand disk space and RAM. This ensures that the server has enough resources for everyone.
- DDoS protection. The hosting provider protects the server from malicious attacks, guaranteeing stable performance at all times.
- Cost efficiency. Renting a VPS is much cheaper than purchasing a physical server. It also consumes less power and doesn’t require expensive cooling systems.
All these advantages make a VPS the perfect solution for multiplayer gaming with friends. You can tailor all settings to your liking and enjoy a smooth, personalized gaming experience.
What to Look for When Choosing a VPS for a Game Server
To create your own game server on a VPS, you should pay special attention to the following technical parameters:
- CPU Power. The vCore resources handle all in-game computations — building, fighting, shooting, and other player actions. The more active the gameplay, the more processing power is required. Tasks are distributed evenly across available cores, ensuring smooth and responsive performance. On average, for popular games with up to 100 players, you’ll need 8–16 cores with a clock speed of at least 3 GHz. Overall performance largely depends on the number of players online simultaneously.
- RAM. Memory is used for processing game operations and temporarily storing necessary data. Most modern games require at least 16 GB of RAM. The more memory available, the faster the game runs and the lower the risk of lag caused by insufficient resources.
- Disk Space. It’s best to use SSD storage, which provides the highest read/write speeds. The minimum recommended storage capacity is 100 GB. The more free space available, the more data — such as maps, mods, and logs — you can store.
- Connection Speed and Bandwidth. If data transfer speed is too low, the game will lag, especially during high-intensity moments. An optimal speed is 1 Gbit/s, which helps avoid latency issues. Choose unlimited bandwidth plans to prevent restrictions during peak gaming sessions.
- Stability and Reliability. Always check the provider’s reputation. PSB Hosting, for example, has earned excellent feedback for its stable, uninterrupted VPS performance and quick technical support.
A useful feature for any game server is customization flexibility — the ability to easily install additional software, mods, plugins, and updates. This helps tailor the server to your preferences and gameplay style.
By choosing the right VPS for your multiplayer setup, you’ll enjoy a smooth, fast, and reliable gaming experience without technical issues. Your virtual server will run 24/7, free of lags or crashes, giving you and your friends full control over your gaming world — independent of public servers or admin restrictions.
Step-by-Step Guide: How to Create Your Own Game Server on a VPS
To set up your own multiplayer game server, you’ll need to follow several sequential steps. PSB Hosting provides access to virtual servers with a wide range of operating systems, making it easy to find the right configuration for installing and customizing your favorite games. Below is a detailed walkthrough of the process.
Step 1: Choosing and Ordering a VPS
Select a VPS that meets the technical requirements for your game and the expected number of players. Focus on key parameters such as CPU power, RAM size, and storage capacity, as well as the preferred operating system.
Most popular games — including Minecraft, CS:GO, and Rust — are easiest to launch on Windows, so a Windows-based VPS is often the best choice.
Once you’ve selected your configuration, review the pricing plan. VPS hosting is billed monthly, and on the PSB Hosting website you can choose the most convenient payment option for your needs.
Step 2: First Login and Basic Setup
After receiving access to your VPS, you’ll need to complete the initial configuration. This includes:
- Connecting to the remote server from your PC.
If the VPS runs on Windows, install a free SSH client like PuTTY or an equivalent program. - Entering the IP address.
When you rent a VPS, the provider sends an email containing your IP address, username, and password. Launch PuTTY, enter the IP address in the “Host Name” field, and then log in using the provided credentials. - Installing updates.
If your server comes with a preinstalled OS, some components may be outdated. Run system updates and confirm all downloads to ensure better stability and security. - Installing SteamCMD.
This utility provides access to Valve services and allows you to download and install the necessary game software, databases, and language packs. - Configuring security settings.
Open Windows Defender Firewall and create new inbound rules to allow connections through the ports your game server will use — for example, TCP and UDP ports. - Optimizing the server.
Install a file manager, FTP server, and other useful utilities to simplify maintenance and data management. - Setting up backups.
Enable automatic or manual backups to protect important data in case of a crash or system error. - Installing the game server software.
For example, to host Minecraft, download the Minecraft Server package from the official website. Follow the installation instructions, extract the files into the desired directory, and run the startup command to launch the server.
Step 3: Installing and Launching the Game Server
Let’s take a closer look at how to launch a game server using two popular examples: V Rising and Valheim. The setup process is generally similar for most games, although there may be some specific differences to keep in mind.
Launch SteamCMD and create a folder where your game files will be stored using the command:
force_install_dir ./folder_name/
Then log in to Steam with your account credentials. To install a specific game, you’ll need its App ID, which can be found on steamdb.info. Enter the command:
app_update 1829350
This installs the V Rising server and downloads the necessary files. Once installation is complete, close SteamCMD with the command:
quit
Next, go to the previously created V Rising folder and find the file with the .bat extension. Right-click it and select Edit. In this file, change the value of serverName — this is the name that will appear in the in-game server list. Set any name you prefer.
Now open the folder VRisingServer_Data → StreamingAssets → Settings and find ServerGameSettings.json and ServerHostSettings.json. The first file allows you to modify core game settings, while the second contains host parameters. Open ServerHostSettings.json in Notepad and locate the ports that must be opened in the Windows Firewall. By default, these are 9876, 9877, and 25575. In Windows Defender Firewall, add inbound and outbound rules to allow connections through these ports.
After completing the configuration, launch the server by running the start_server_example.bat file. Start the game, open the server list, and search for your server by name. Once refreshed, it should appear in the list of available multiplayer servers.
The process for setting up a Valheim server is similar, with a few differences. Open the game’s .bat file, which contains the primary startup settings. In the last line, you’ll see the file name (valheim_server) and server name (name) — this is where you specify the name that will appear in the connection list. The same file also includes the password and port for access. By default, Valheim uses port 2456, but it’s recommended to open ports 2456–2458.
Then, go to the Windows Firewall and update inbound and outbound rules to open the necessary ports. After that, close the firewall settings and run the start_headless_server.bat file. Launch the game, open the server menu, and select Add Server. Enter your IP address and port (default: 2456), then add the server — it will appear in the list of available servers. Enter the password and press Enter to connect.
Step 4: How Friends Can Connect to the Server
For your friends to join the game, they need to launch the game, go to the server list, and select the server with the name specified in your configuration file. The creator of the server should share the server’s name with their friends so they can find it in the list. To join, they simply need to click on the server’s name. When connecting, they’ll be prompted to log in using the provided username and password.
Common Issues and How to Fix Them
One of the most common problems with VPS servers is insufficient performance caused by high load. If your server was initially created for a small group of players but the number of users has grown significantly, its resources may no longer be enough. In such cases, it’s best to scale the server by increasing its RAM and disk space.
Another frequent issue involves DDoS attacks, which can cause a sudden spike in load and service interruptions. If your server experiences malicious activity, contact your hosting provider’s technical support — they should have protective measures in place to mitigate such attacks.
Performance can also degrade when the disk space is full. Old backups, logs, and unnecessary databases can accumulate over time. Regularly clean up your server to remove unneeded files. If storage shortages occur frequently, consider renting additional disk space to expand your server’s capacity.
Other issues may stem from outdated software, lack of system updates, or viruses and malware. Monitor your server’s load, keep your operating system and software up to date, and perform regular virus scans and maintenance. Consistent technical upkeep ensures the server remains stable and prevents unexpected downtime.
Which Games Work Best on a VPS?
A VPS is an excellent solution for hosting most popular multiplayer games, especially if you prefer not to use official servers. It’s a great choice for the following types of games:
- Multiplayer games with extensive mod support.
A virtual private server allows you to install exactly the mods you want and remove those you don’t need, giving you full control over customization and gameplay. - Games with intense, fast-paced gameplay.
If you enjoy dynamic battles with friends, a VPS ensures stable access and zero lag. This makes it ideal for competitive gamers and streamers, who require maximum performance and connection stability. - First-person shooters like Counter-Strike (CS:GO).
You can set up a private server for clan tournaments or friendly matches with a limited number of players, ensuring smooth and secure gameplay. - Sandbox games with vast open worlds like Minecraft.
A private local server guarantees protection from outsiders who might interfere with your creative projects, large-scale builds, or collaborative gameplay experiences.
In short, VPS gaming gives you the ability to create your own dedicated server where you and your friends can play comfortably and without restrictions. There’s no need to invest in an expensive high-performance PC or keep your computer running 24/7 — renting a virtual server is much easier and more cost-effective.
Even users without technical expertise can handle the basic setup. And if you encounter any difficulties, the PSB Hosting technical support team is always ready to assist. Our specialists can help you resolve any server-related issues and ensure smooth, uninterrupted gameplay.